Create your first project
A project is the container for everything on a job: its drawings, submittals, RFIs, site issues, materials and daily reports. You only need a name to start.
- 1
Open Projects and start a new one
Go to Projects and click New project. If you don't have any projects yet, the same button sits in the empty state under No projects yet.
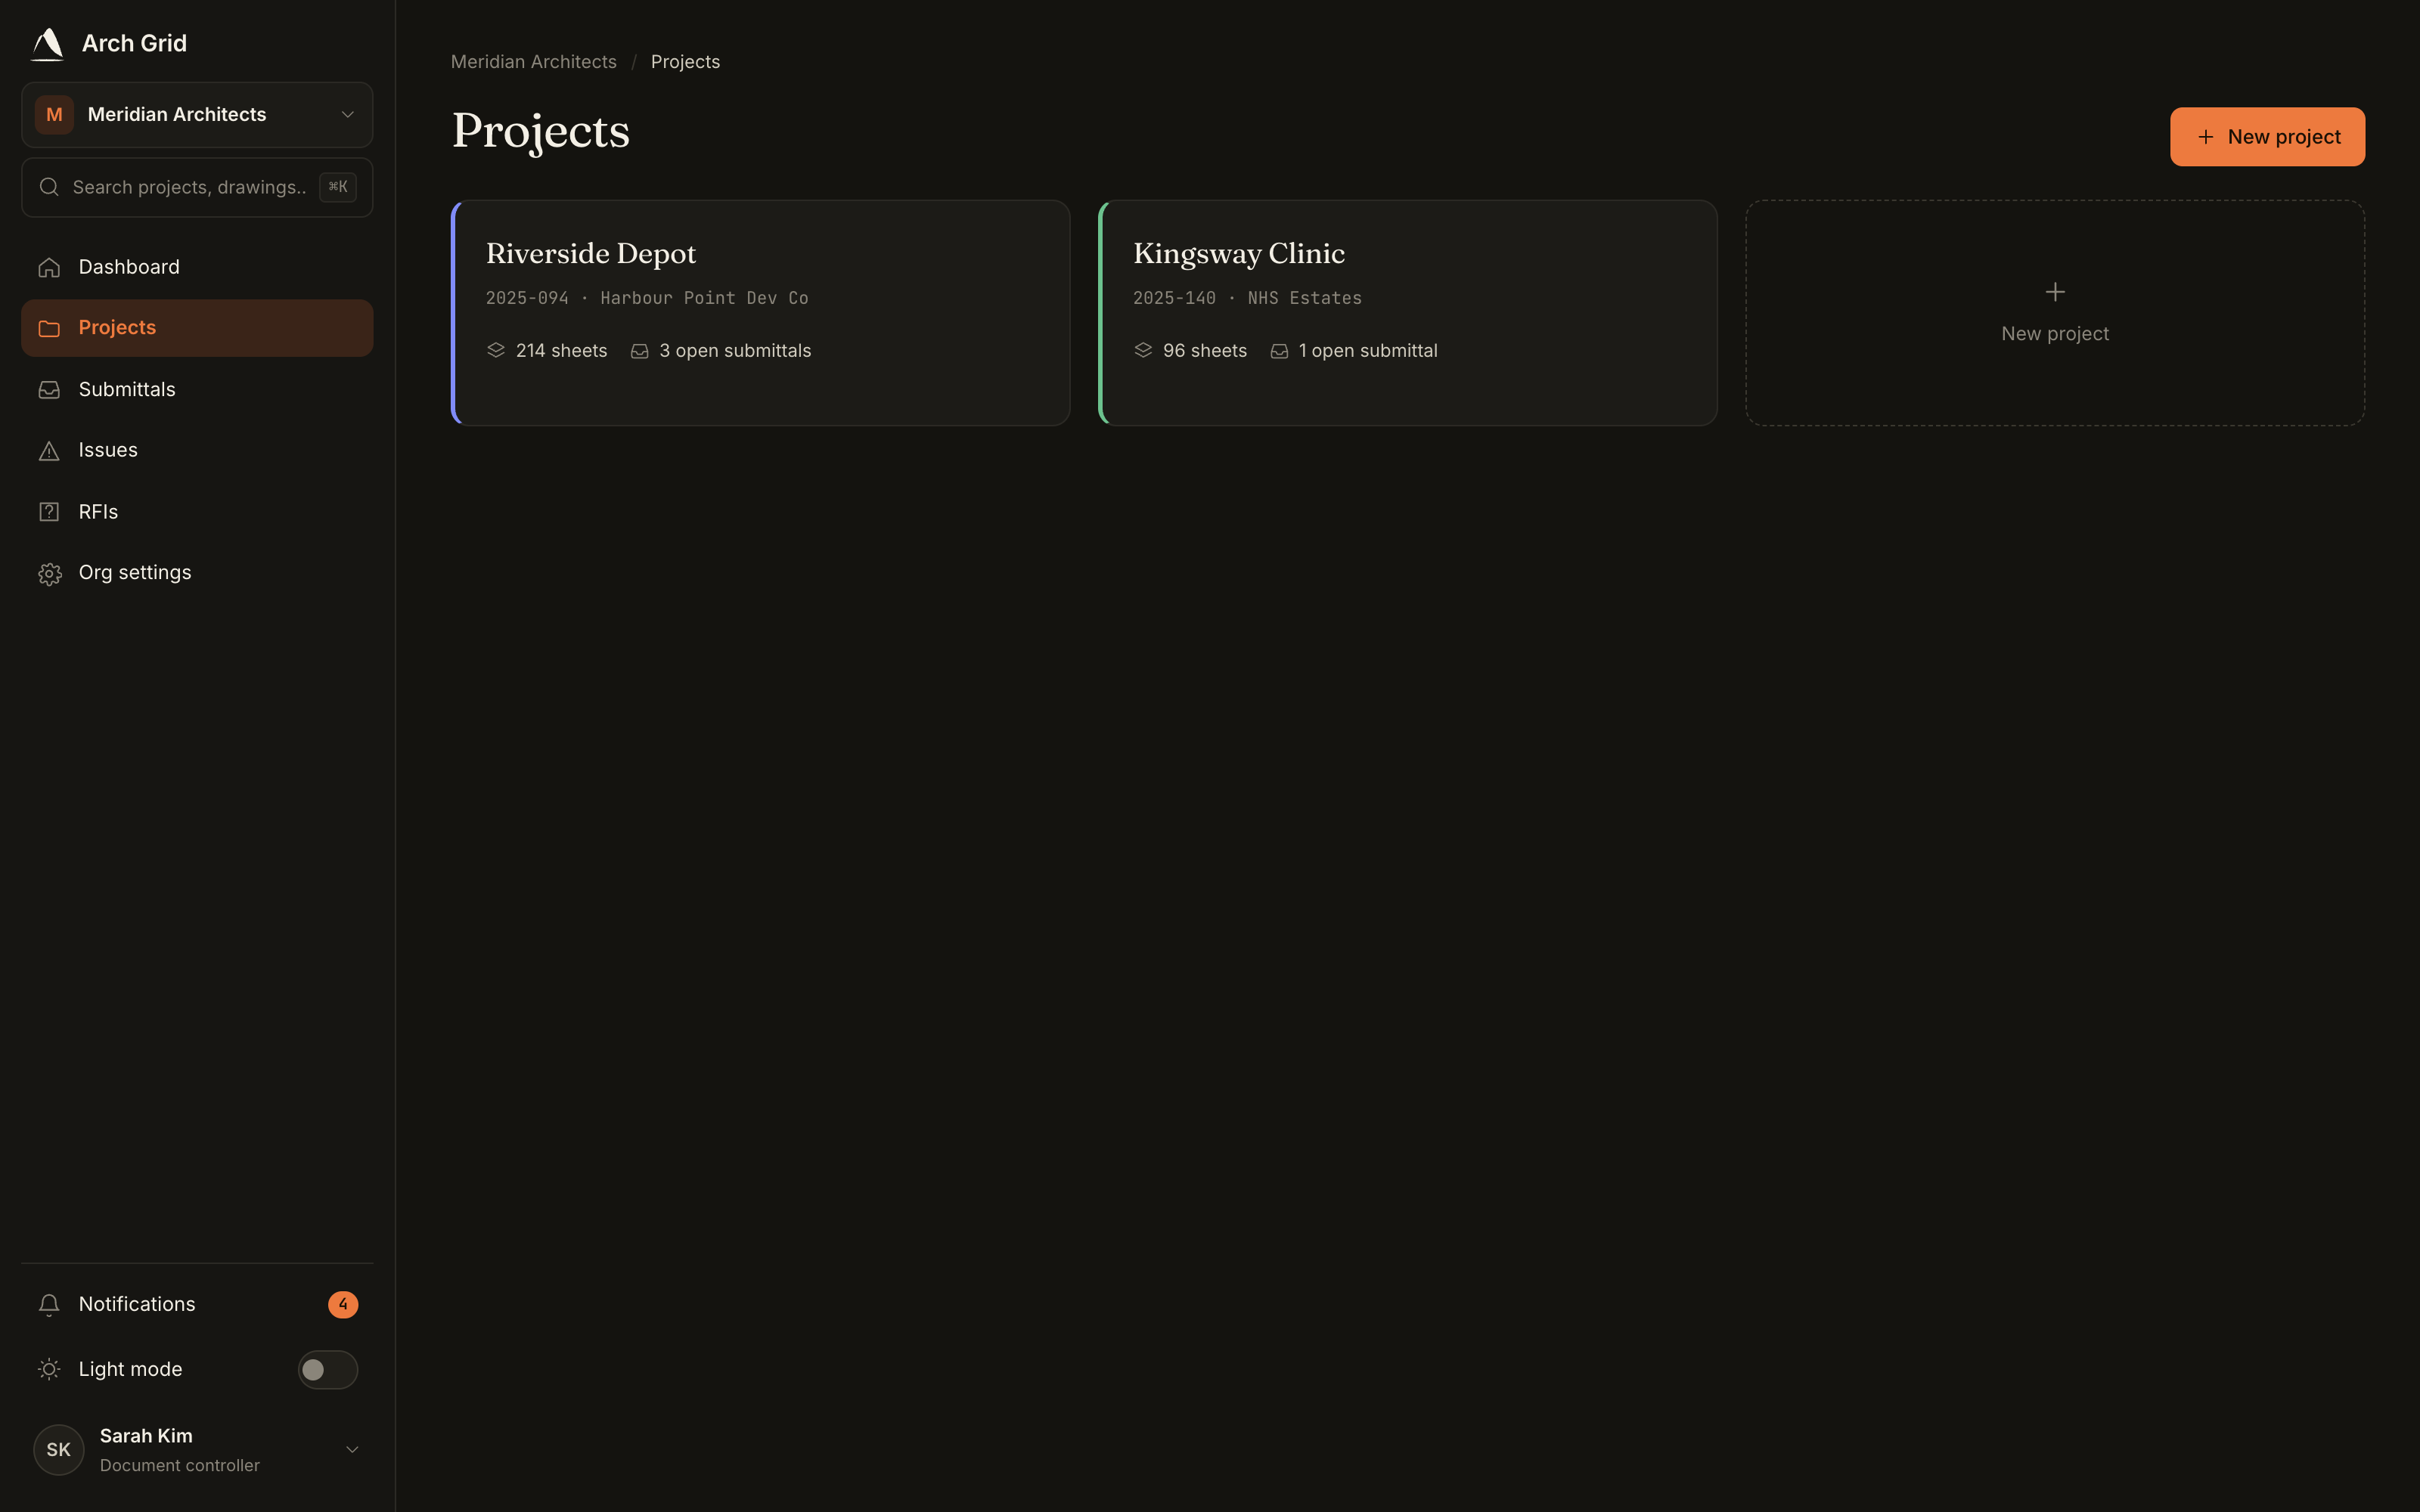
The Projects page with the New project button. - 2
Fill in the project details
Give it a Project name (the only required field). You can also add a Project number, Client, Description, and a Color tag to make it easy to spot in a list.
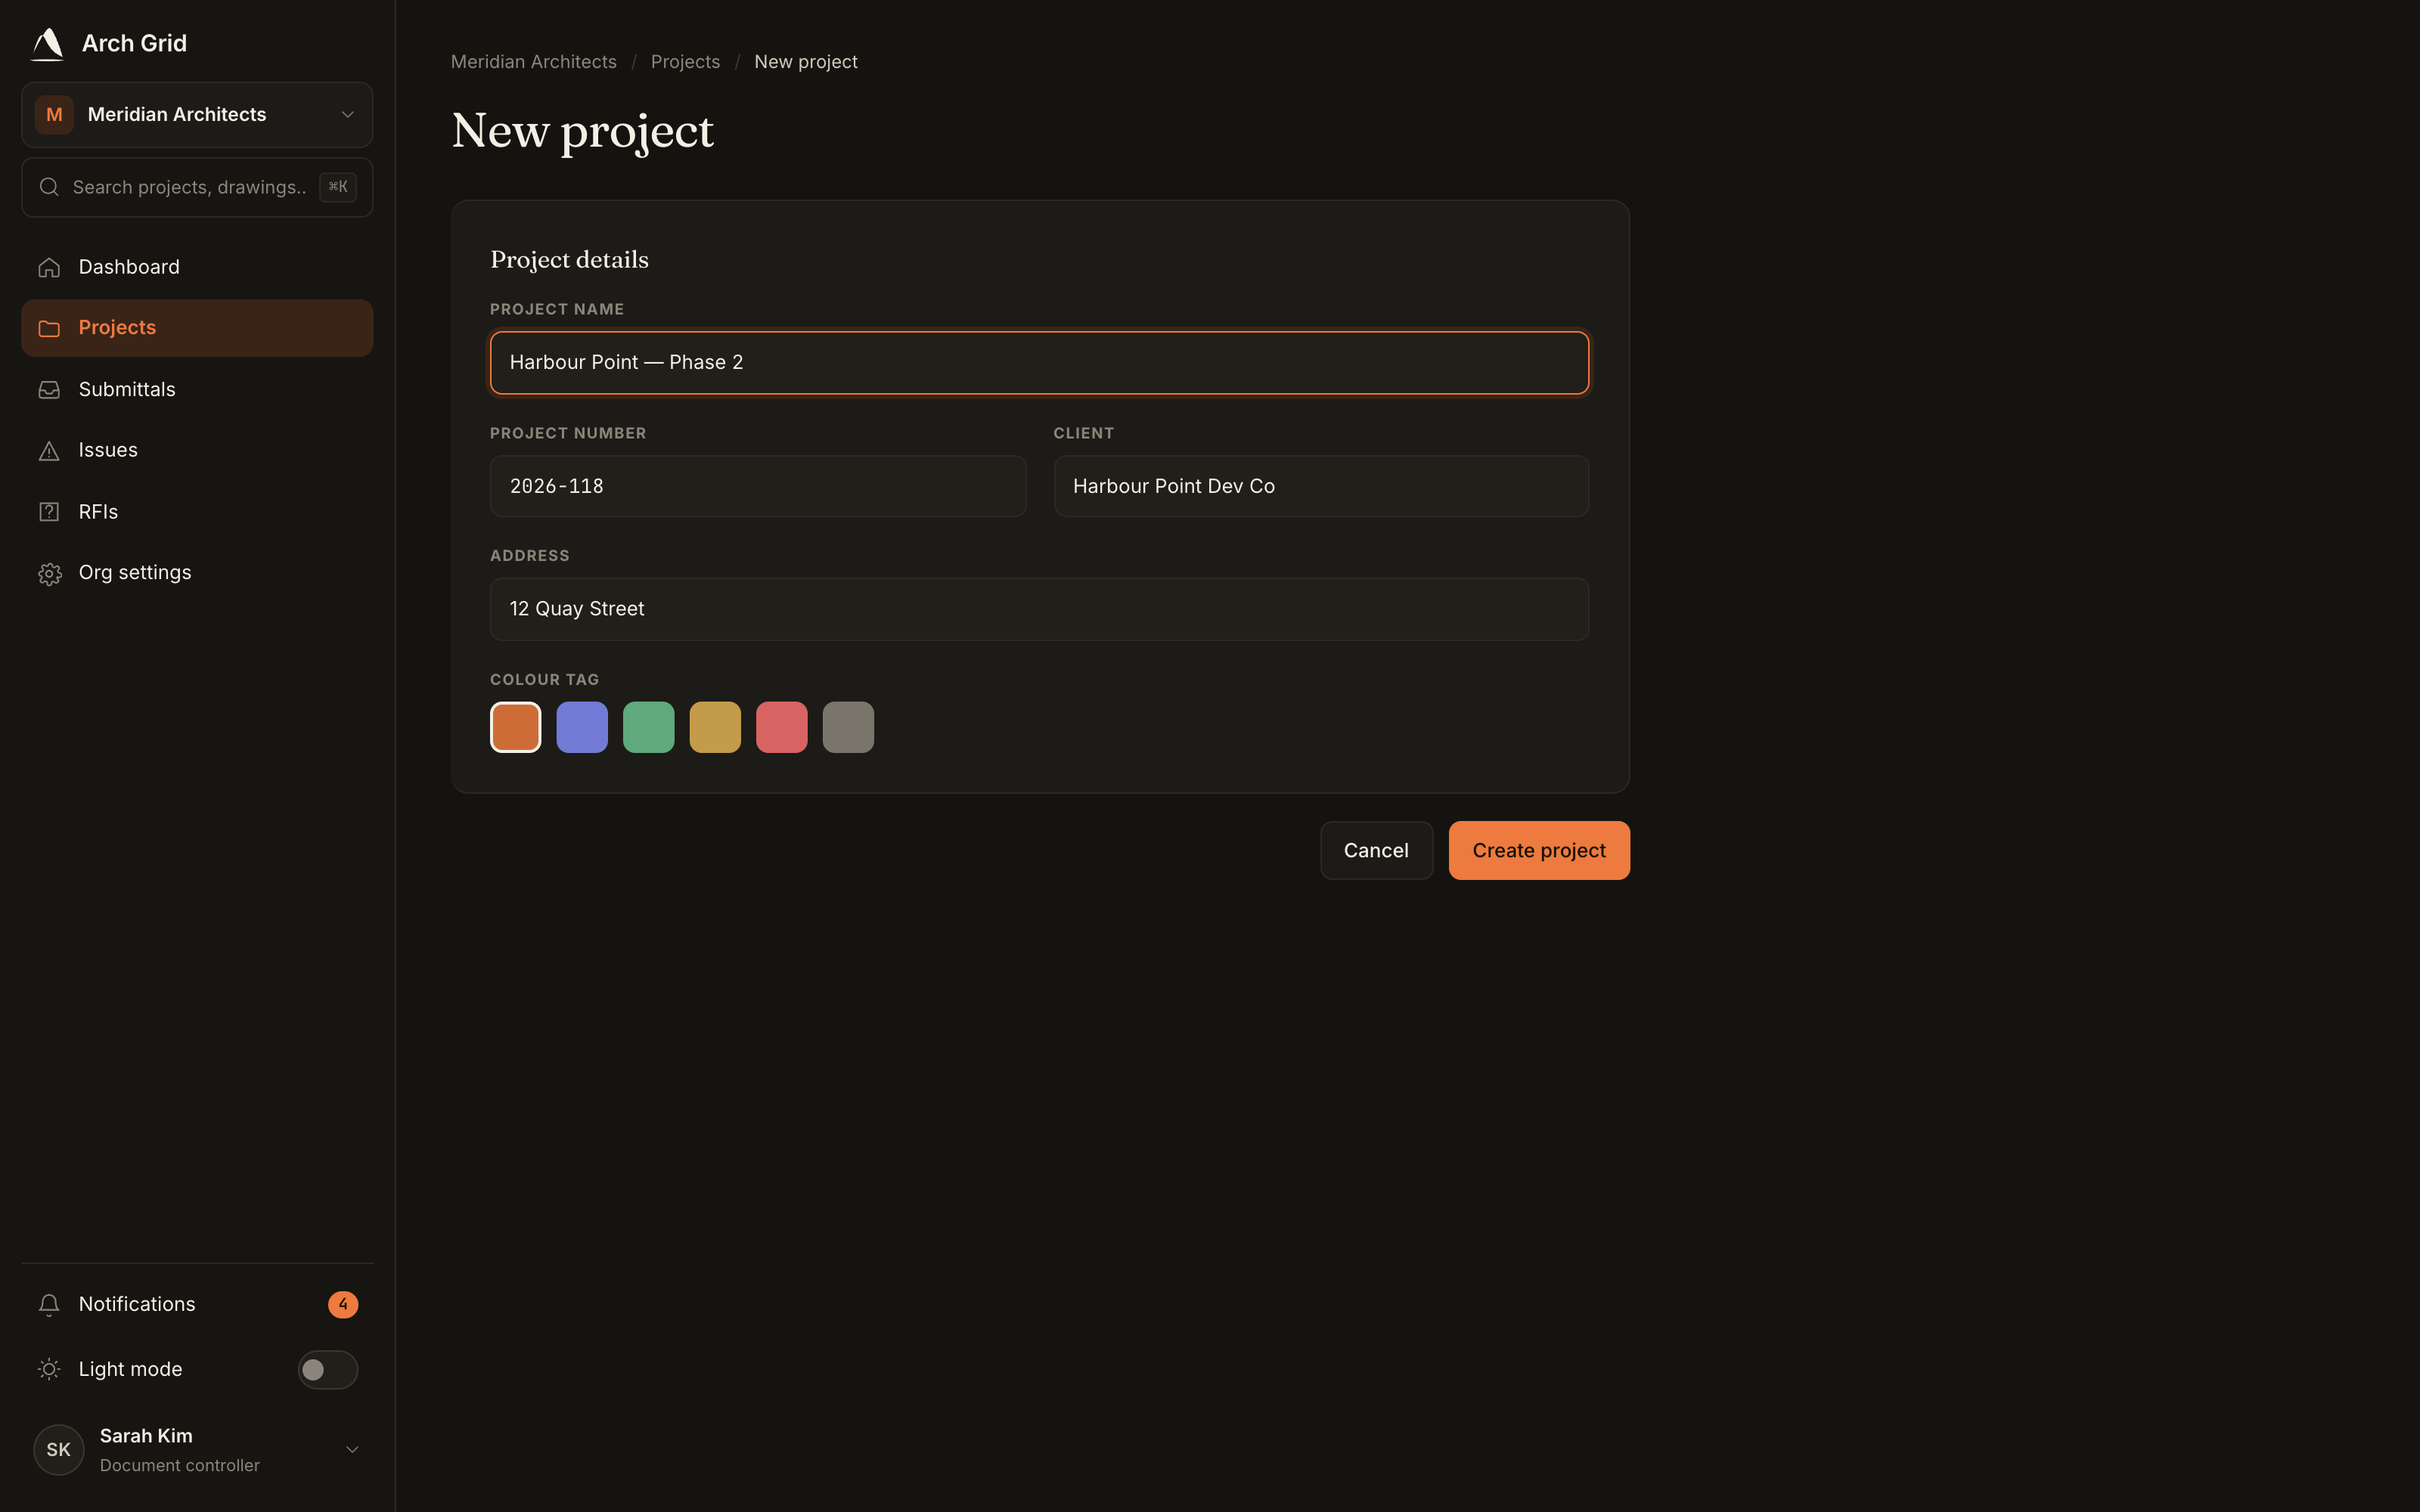
The Project details section. TipEverything except the name is optional and editable later. Don't let a blank client or number stop you from creating the project now. - 3
Add location and schedule (optional)
Under Location & schedule you can add an Address, a Start date, and a Target completion date. The address is also what powers weather auto-fill in daily reports later.
- 4
Create it
Click Create project. You land on the project hub, a set of module cards (Drawings, Submittals, Site Issues, RFI, Daily Reports and Materials) that you'll fill in from here.
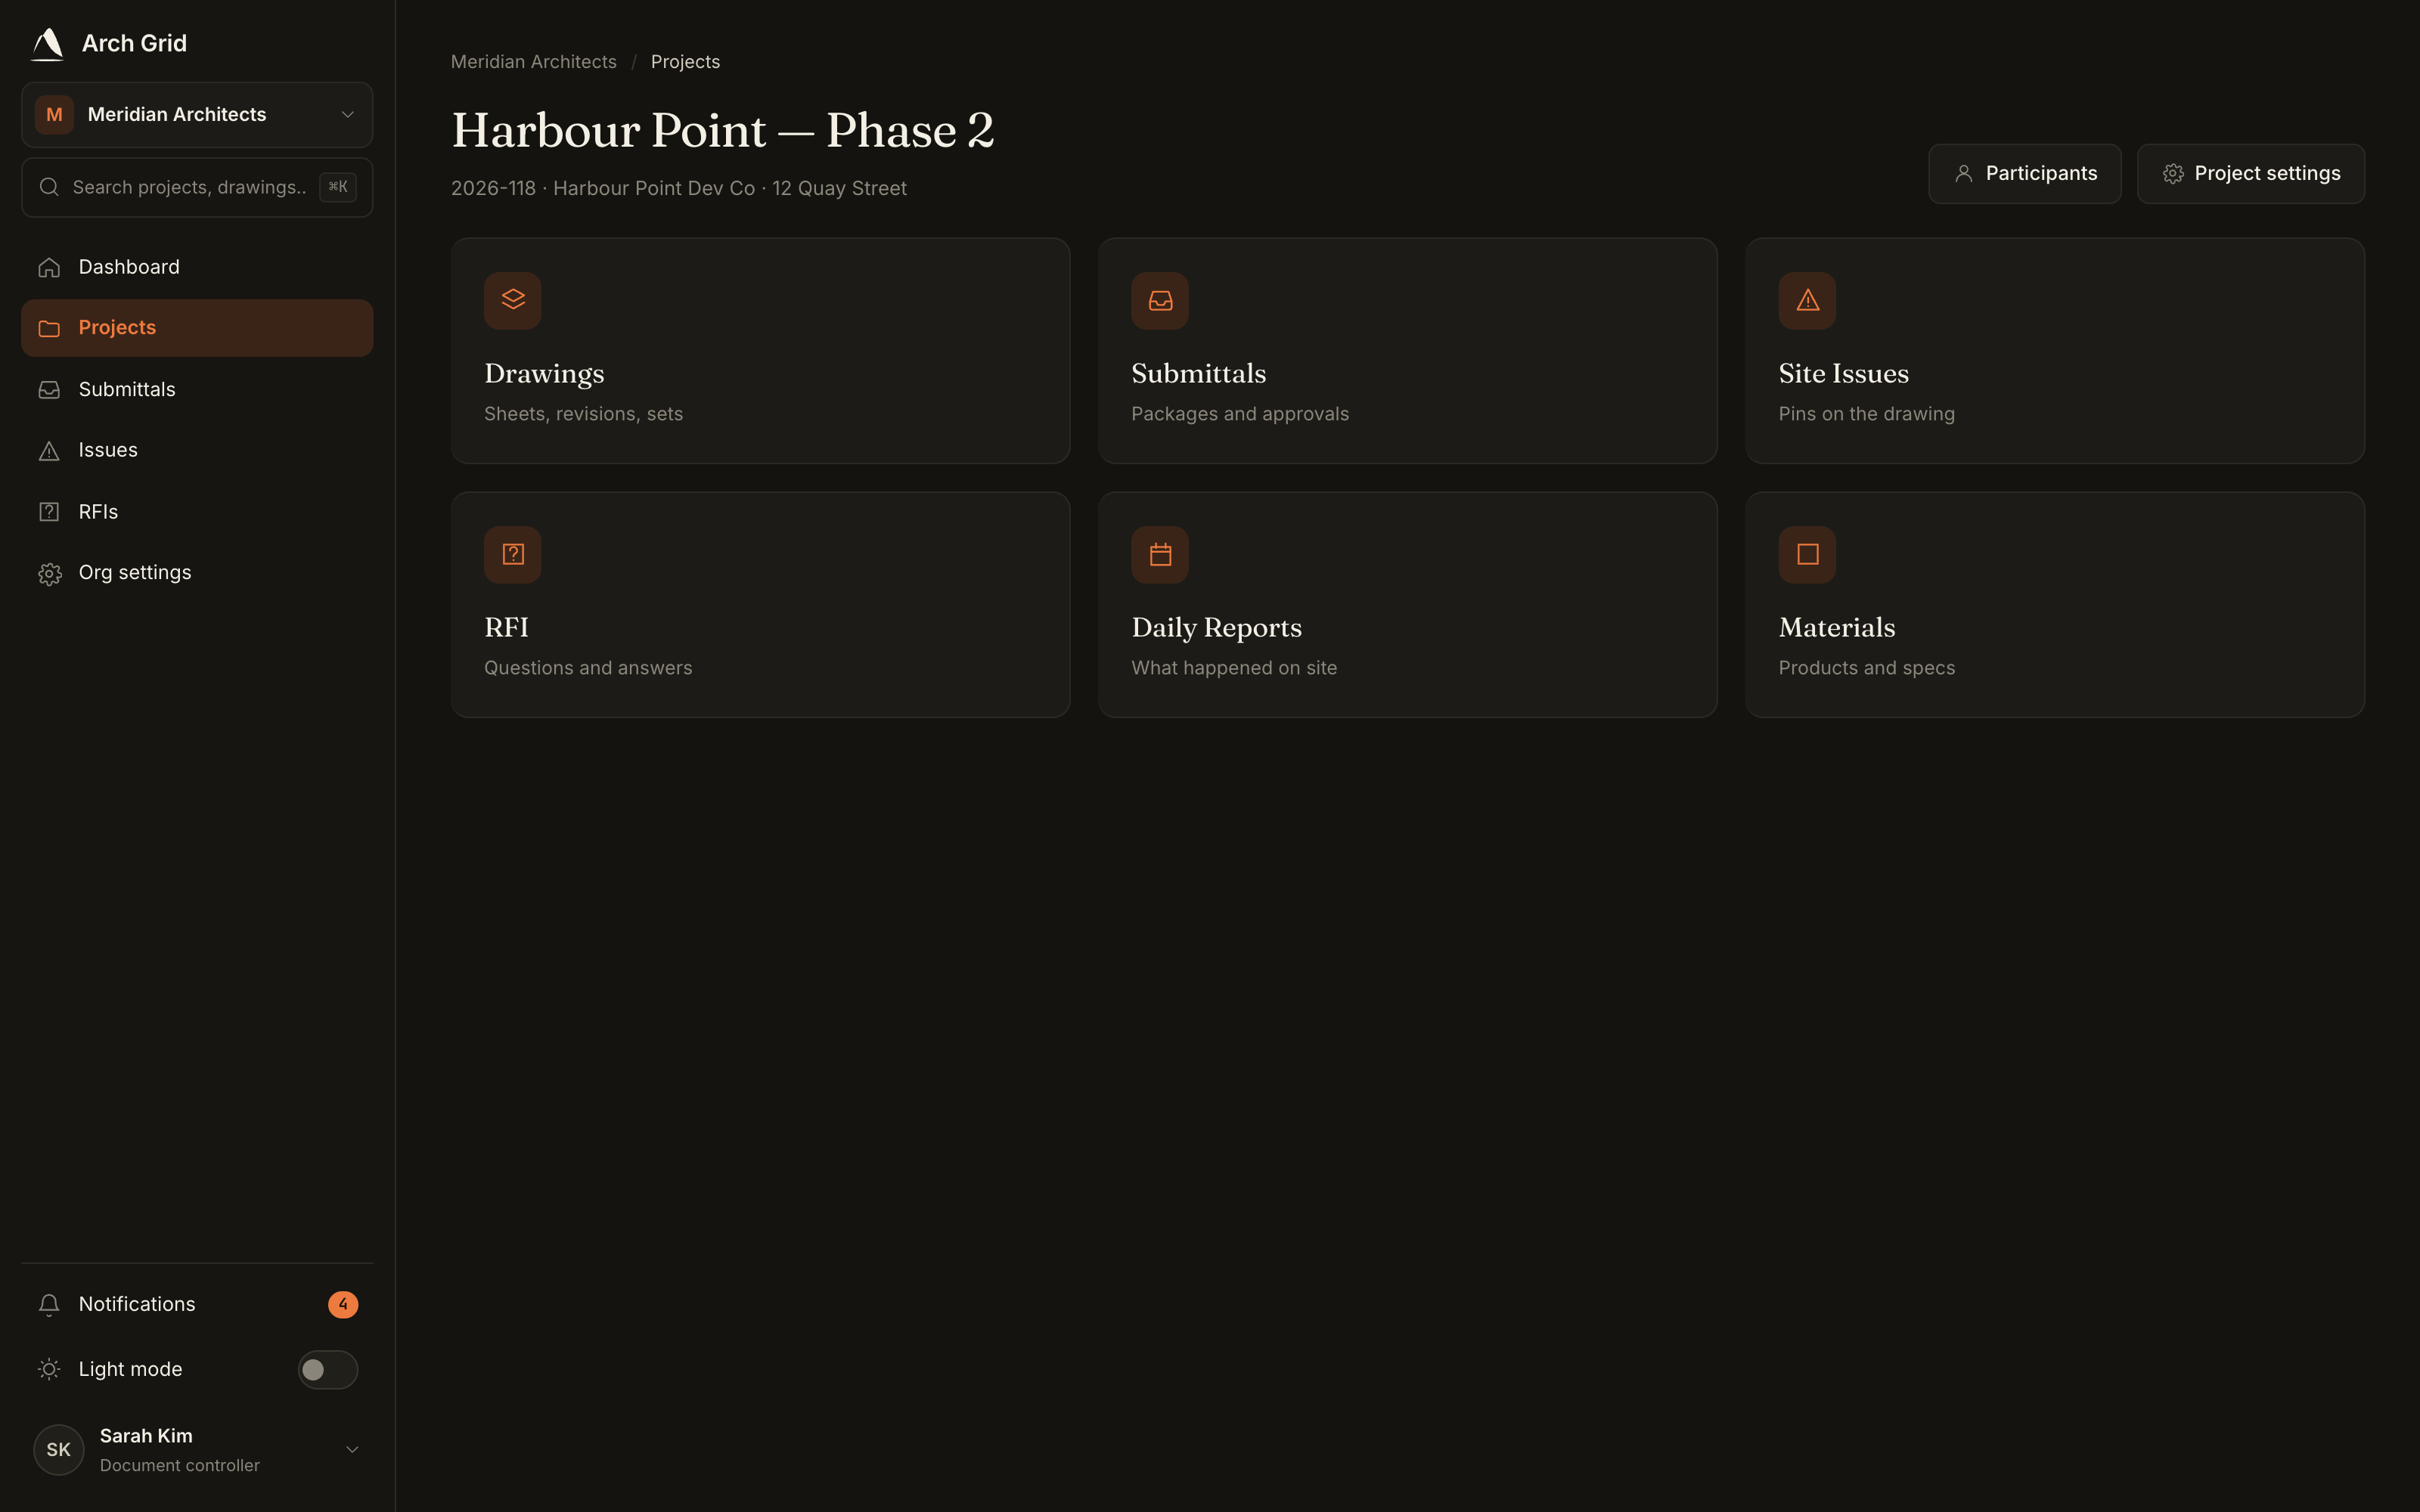
The project hub you land on after creating. NoteOnly an organization owner or admin can create projects, so the New project button is hidden for regular members.