Track materials in the register
The materials register is your project's running list of products: what's specified, its cut sheets and photos, and where each one stands. It's owned by your firm and scoped to the project.
- 1
Add a material
From your project, open Materials and click Add material.
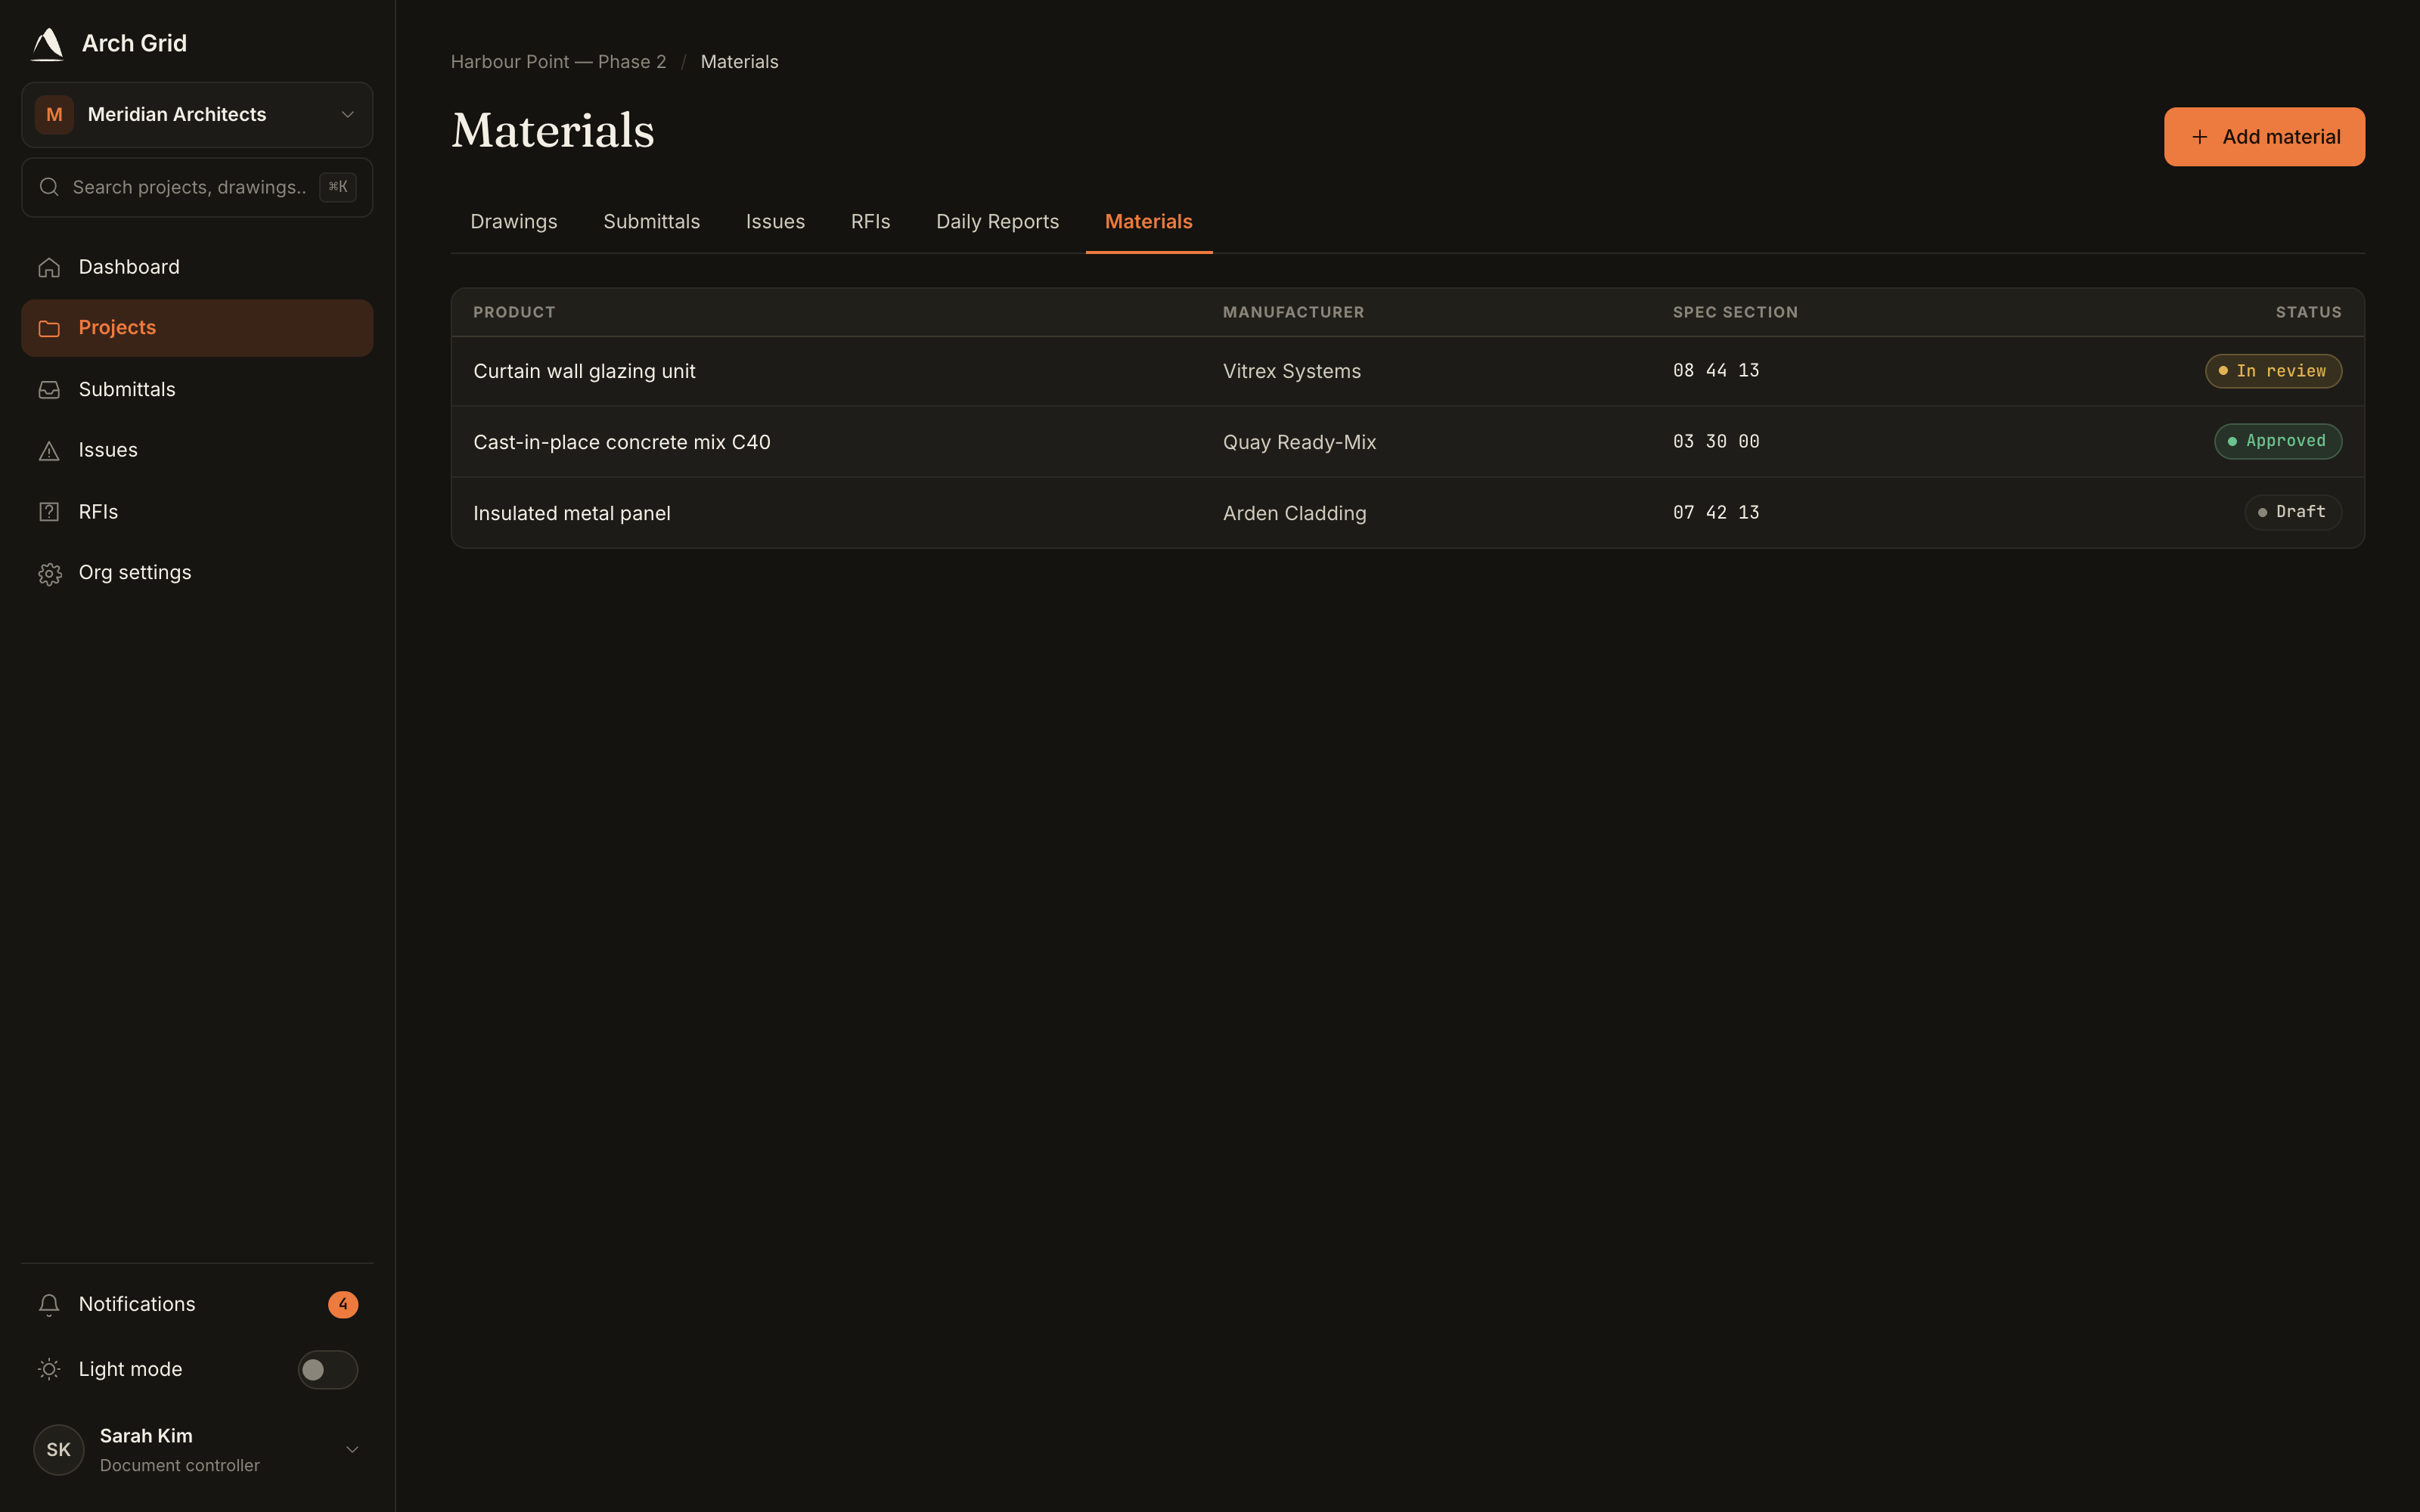
The Materials register with the Add material button. - 2
Fill in the product details
Give it a Product name (the only required field), plus optional Manufacturer, Model / Product no., Spec section, and Notes for substitution rationale or finish details.
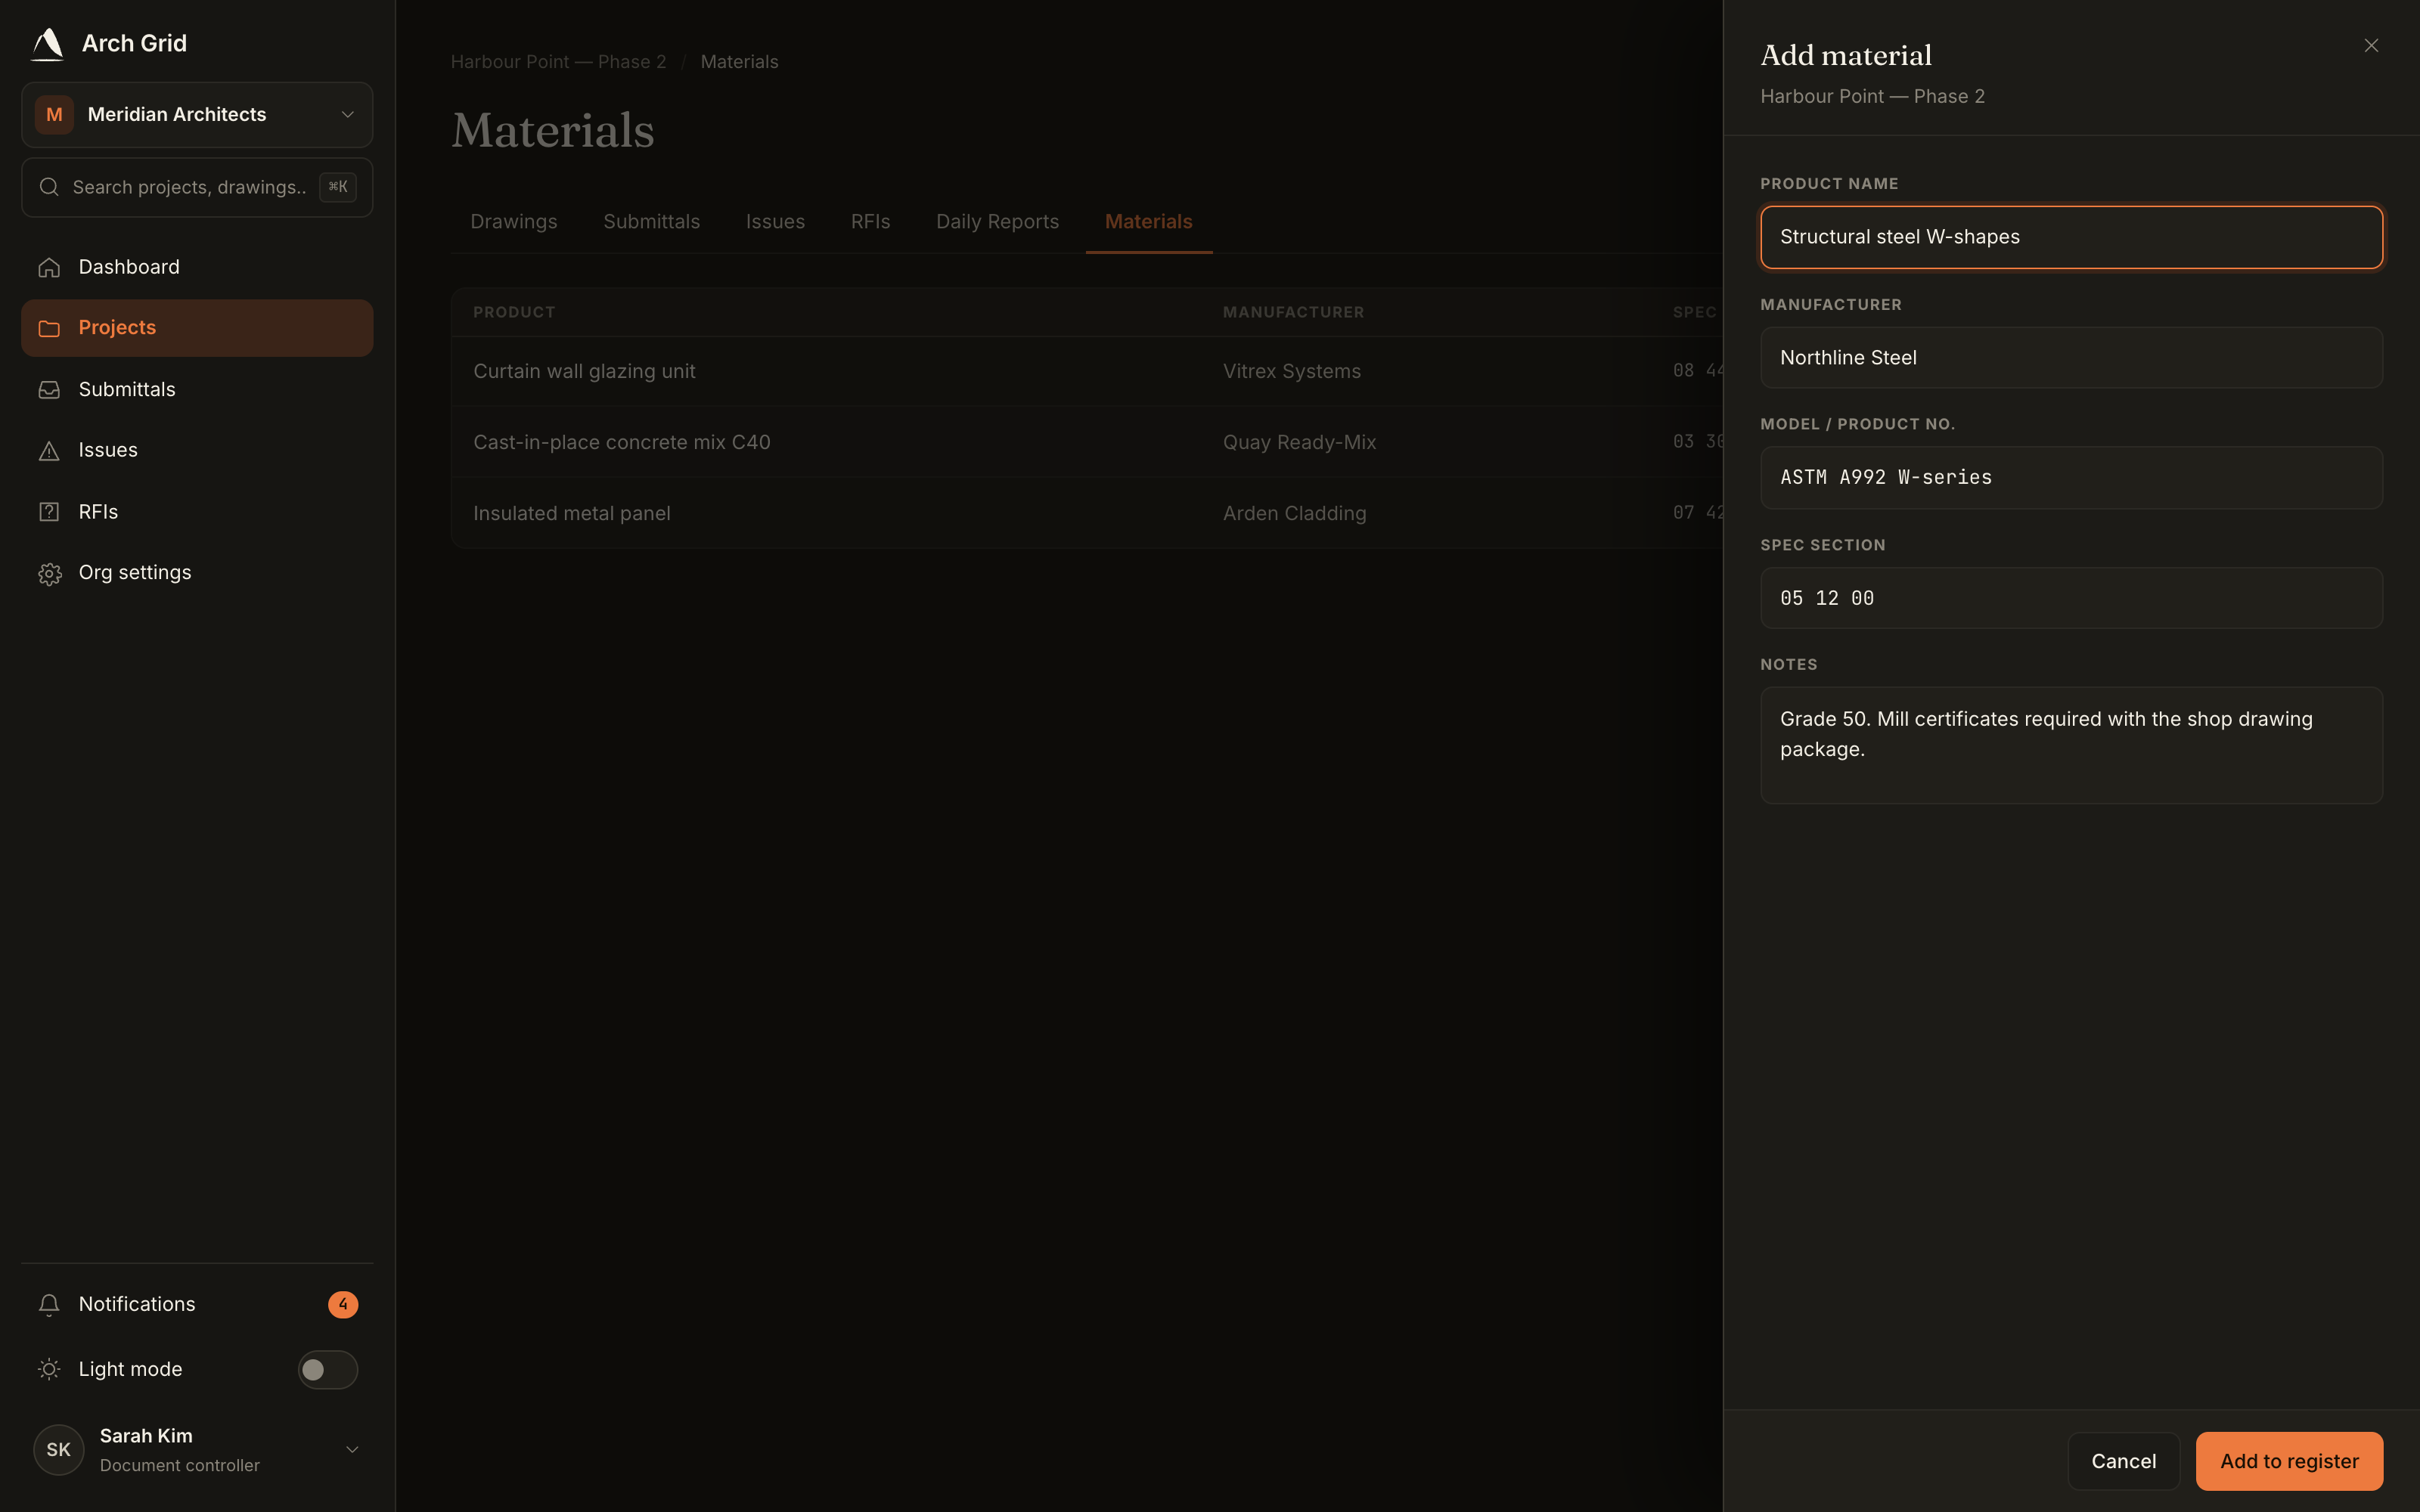
The add-material form. - 3
Attach cut sheets and photos
Use the upload area to add PDFs, JPGs or PNGs (up to 50 MB each), such as manufacturer cut sheets or a photo of the sample.
- 4
Track status and link a submittal
Each material carries a status you can see at a glance in the register. If a material is included in a submittal, its approval status follows that submittal automatically, and the submittal number shows in its row.
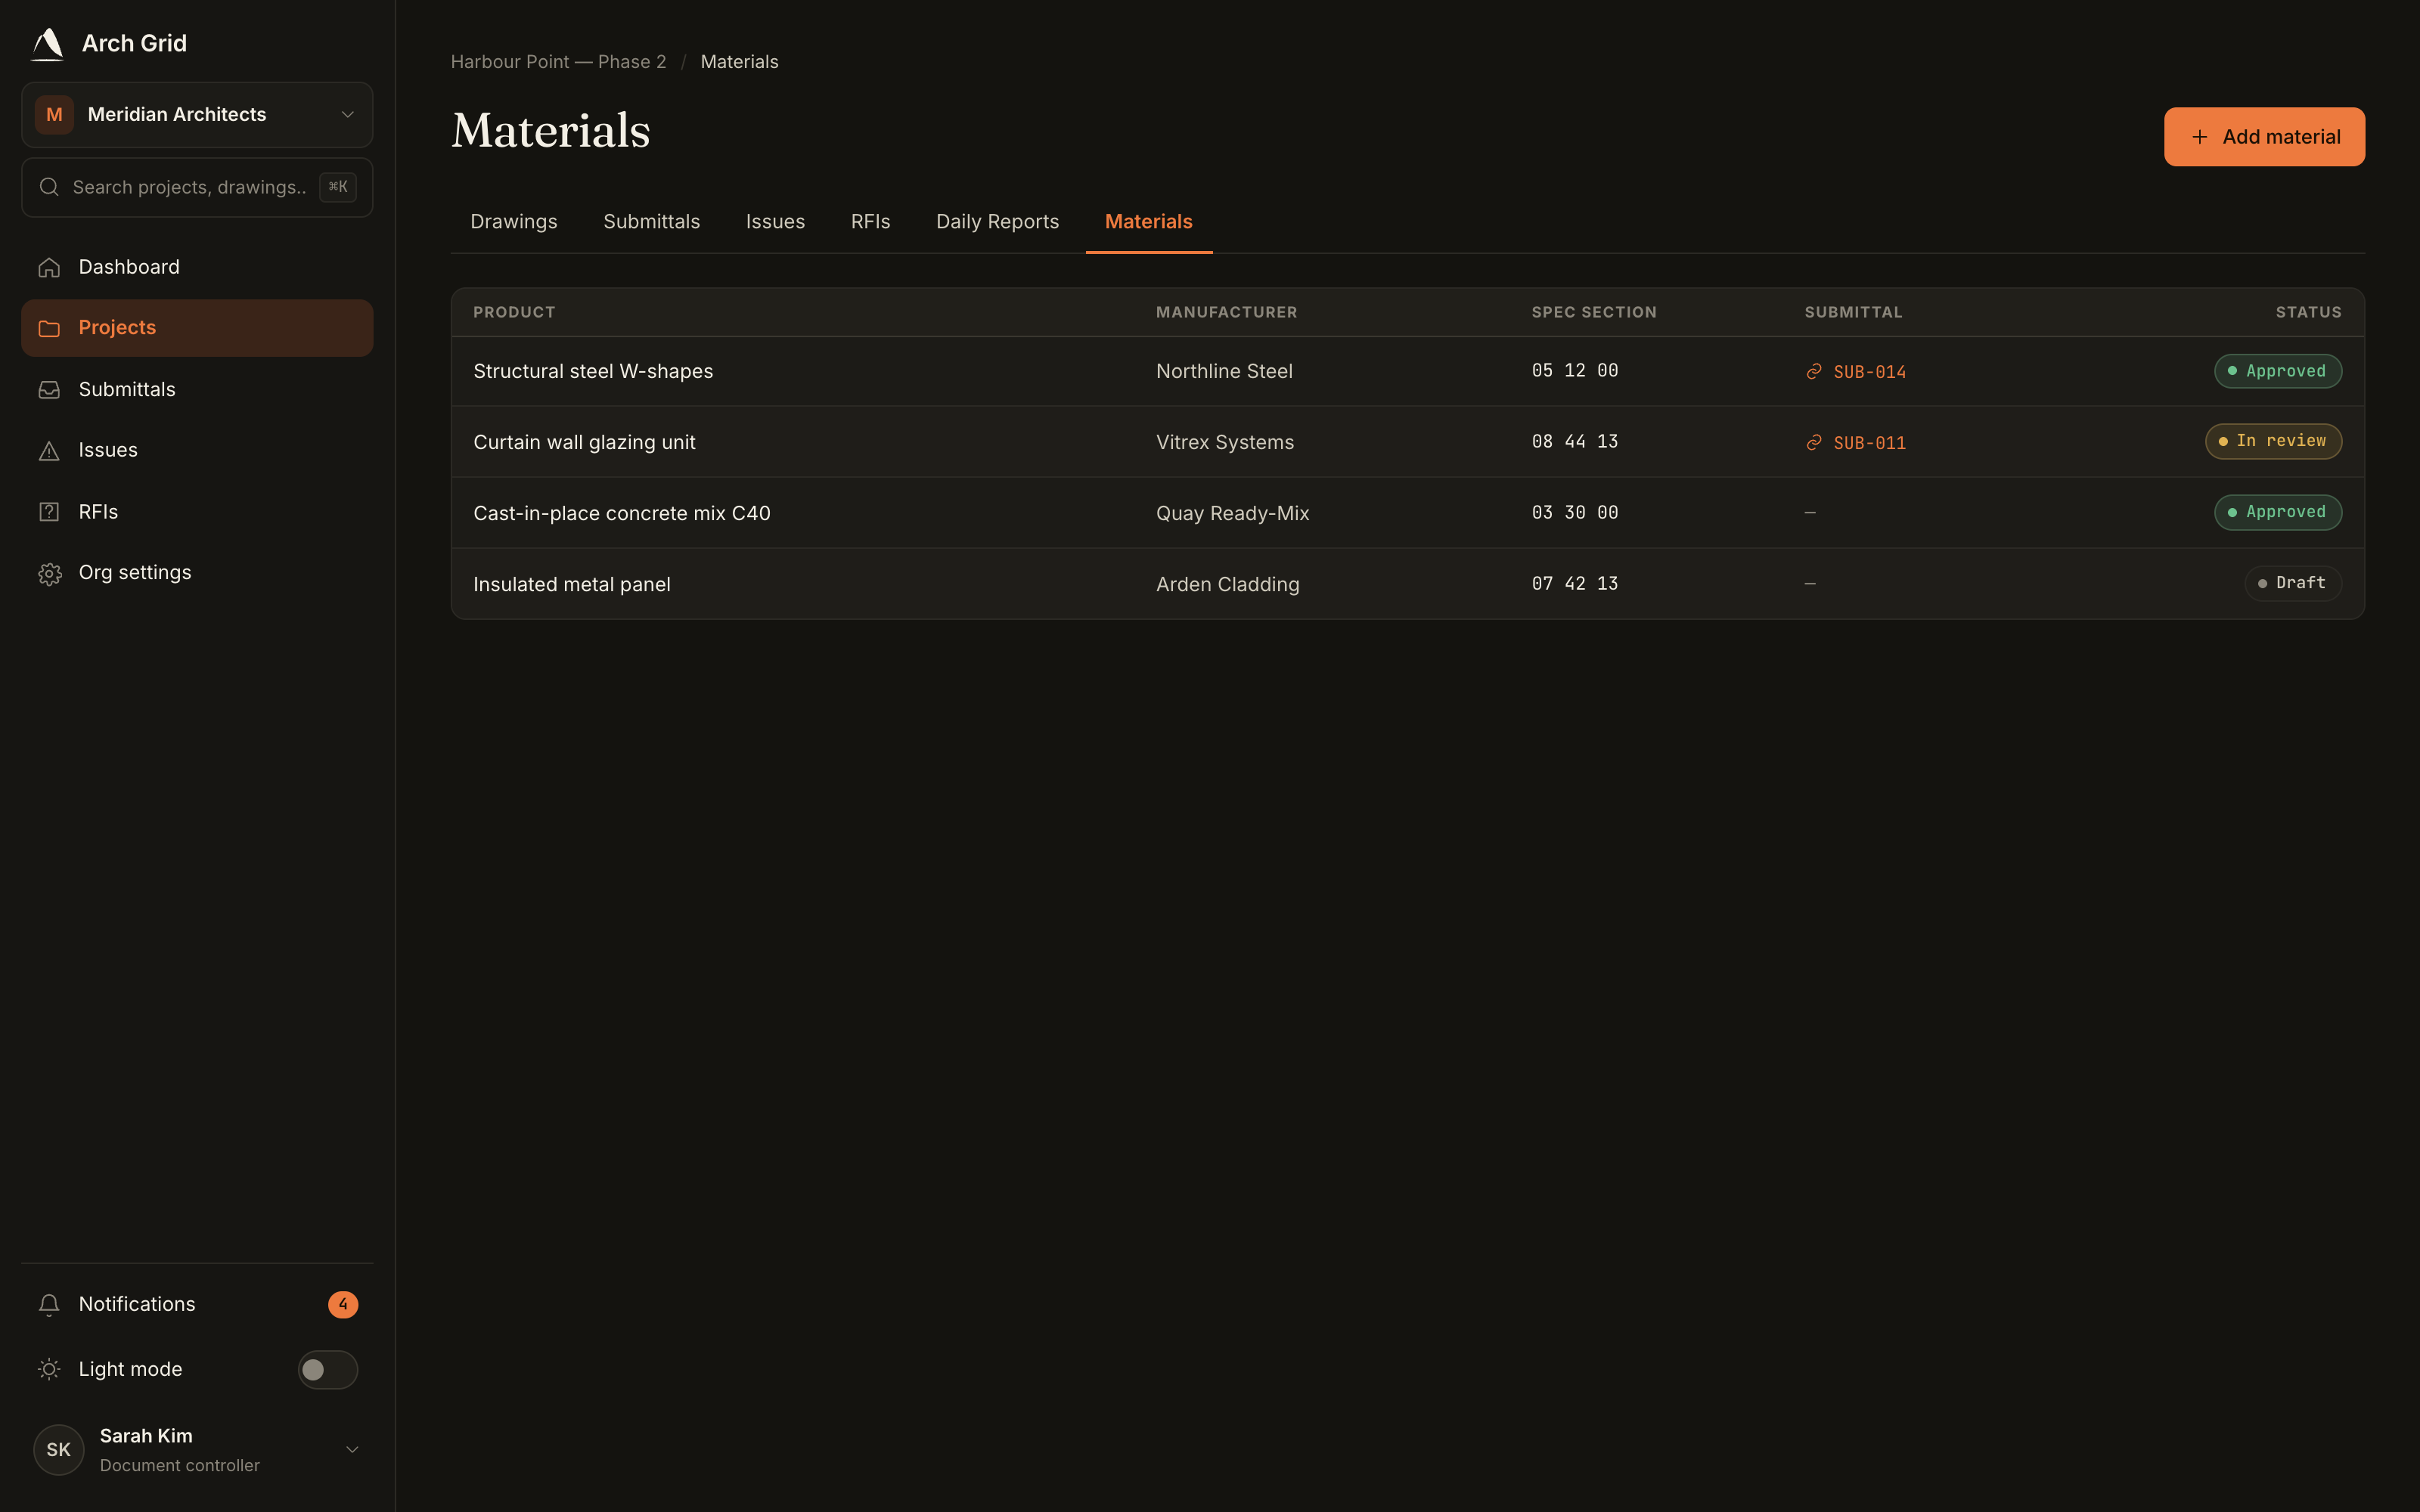
The register with statuses and linked submittals. - 5
Export the register
Click Export to open a clean, printable PDF of the whole register, handy for a submittal log or a handover package.
TipIf your approvals happen off-platform, the next guide shows how internal mode lets you set a material's status yourself instead of driving it from a submittal.